Wednesday, January 30, 2013

Topiary Trees

I saw this tutorial on Pinterest and immediately fell in love (as usual).  And (as usual) it was a project that took waaaaayyyyy longer than I ever expected.  Who knew that I'd be rolling up streamers for a good eight hours?!?!  Thank goodness I have the awesomest kiddo in the world who did not require a whole lot of attention (I can roll and play choo-choos like the best of them!) and took an awesome nap.

So first I took my terra cotta flower pots and painted them white.
This was after coat #2....another coat was required.  Depending on the paint you get, you may be able to get away with two coats.  And don't you just love the pinkness in the background?  That's going to be the center of my Valentine's Day mantle.  I took a foam board, cut it down into a 17" square, took a half yard of pink chevron fabric and thumb tacked it to the board on the backside.  Then I took the cute, heart, hangy thing (I want to call it a wreath but that is clearly not correct) and thumb tacked it too.  So stinkin easy and adorably cute.  Ok back to the trees...
Then I started constructing the topiaries.  I took 6" styrofoam balls and inserted a wooden dowel into them.  I painted the dowel a brownish color so it sort of resembled a tree trunk.  I stuffed floral foam in the bottom of the pots to hold the dowels in place.
Then it was time to start cutting the streamers.  I went through about 200 yards of streamers for just one topiary.  Ugh.  I still have to make the second topiary because I ran out of streamers and glue gun sticks.  Hopefully I get it done by Valentine's Day!  I cut each streamer to one yard in length.
Then, you fold the streamer in half longways and start rolling, glue the end, then glue it to the styrofoam ball...and repeat like a bagillion times. 
It looks really cute when it's full!
Adding some pearls just screams Valentine's Day and the Spanish Moss works so well in the bottom.  Had I had a little more patience, I would have put a pearl on each bud because the sporadicness is driving me nuts since they are not perfectly spaced!!
But, I'm glad I got one down and now it's on to the second one.  I'm on a mission to have it done in the next 15 days :-)

Monday, January 28, 2013

Darn you, Girl Scouts

Just when you thought the holiday binge eating was over, and you could get back to a healthy diet, bam....the Girl Scouts strike.  Being a sweets lover (and that is definitely an understatement) I just can not resist those Samoas (aka- Caramel Delights). 

I stumbled upon this recipe, immediately added the ingredients I didn't have to my shopping list, and made these Thursday.  Amaze-balls.  I haven't had time to blog about them because I've been too busy stuffing my face with them.  They were a little time consuming but SOOO worth it.
Cream together the sugar and butter.  I am convinced all great recipes start with this step!!
 Then add the egg and vanilla.
After you mix the flour and salt, you will get a doughy substance like this.  Put it on a parchment lined 9x13 baking pan...
...and squash it down with your fingers until it spreads out evenly over the pan.  Bake for 25 mins.
 While the cookie base is baking, take the coconut...
 ...and toast it.  I'm drooling :-)
 When the cookie base is done, let it cool.
Then, melt the caramel and milk in the microwave.  Make sure not to over cook and only zap it for 30 seconds at a time then stir.  Otherwise, you'll have a disaster.
Mix the caramel with the coconut
Then spread the mixture on top of the cookie base.  I put mine in the fridge at this point to harden.
Once firm, cut up into bars.  The parchment paper make it so much easier to get the bars out.
Next you melt the chocolate.  Again, zap for 30 seconds then stir.  Repeat.  You don't want burnt chocolate...trust me!
Take your bars and dip the bottom into the chocolate so the bottom is covered.  Put on a baking sheet lined with wax or parchment.
Once all the bases are done, put the remaining chocolate in a plastic bag.  I find if you put the bag in a glass and then pull the top of the bag down the edges, it makes it much easier to fill the bag.
Then snip off a corner (not too much or you will have thick, globby, albeit delicious chocolate like below).  If you want pretty piped chocolate, just snip a tiny bit off.  Then pipe away.  Put back in the fridge to harden.  Then eat your masterpiece!!!
I love you Girl Scouts!!!

Samoas Bars

from Crepes of Wrath

1/2 cup sugar
3/4 cup butter, softened
1 large egg
1/2 tsp vanilla extract
2 cups all purpose flour
1/4 tsp salt
3 cups shredded coconut
12-oz chewy caramels
1/4 teaspoon salt
3 tablespoons milk
20 oz. chocolate chips

Make cookie base. Preheat oven to 350F. Cream together butter and sugar. Next beat in eggs and vanilla. Mix in flour and salt until just combined. The mixture will be pretty crumble. That’s okay! Press it into a baking dish (I used a jelly roll pan lined with parchment paper and pressed it into about half the pan, but you can probably just use a 9×13). Bake about 20-25 minutes or until the edges are golden brown. Allow to cool.

Next make the topping. Start by toasting your coconut. Turn the oven on to 300F and lay coconut on a baking sheet. Turning occasionally toast about 10 minutes, once golden, remove from oven and set aside to cool.

Next melt the caramels in the microwave. First unwrap the caramels and put them in a large bowl with the milk and 1/4 tsp salt, microwave about 3-4 minutes, stirring every 30 seconds until evenly melted. Add the coconut to the melted caramel and stir to combine. Once combined, spread coconut/caramel topping onto shortbread base. This is easier if you spray your spatula with pam or grease it. Allow to cool completely (I refrigerated it a bit).

Remove bars from pan (this is easy to do if you used parchment paper). On a cutting board, using a large chef knife, carefully cut the bars into the desired shape. Melt chocolate in the microwave (remember to stir every 30 seconds). Dip cookie base into chocolate (or spread on with a spoon if your bottom is too crumbly), place on fresh wax/parchment paper. Put the remaining melted chocolate in a ziploc bag and cut off a tip so you get a tiny piping bag. Pipe lines of chocolate on each one. Refrigerate a little bit so chocolate hardens then serve!

Love is in the air...

I can hardly believe Valentine's Day is just a few weeks away. Thanks to good 'ole Pinterest, I have so many projects in the works, I feel like I'm going to be working around the clock to get them done (since my OCD requires me to have them done by the first of the month the holiday falls).

I actually didn't find this project on Pinterest, but, the idea was from a project I did last Easter involving paint swatches and cookie cutters.  G and I took a trip to Lowe's one morning and I found myself wandering around (as usual) and ended up in the paint department.  Knowing V-Day was just around the corner, I stocked up on pink paint swatches.  If anyone was watching they probably thought I was nuts.
I took my heart shaped cookie cutter and started tracing heart shapes on the back of all the swatches.
Then, I cut out the hearts and glued two hearts together (back to back) so the colors showed on both sides.  After that, I punched a small hole, took grey and white yarn in different lengths, and knotted one end so the heart would hang on the yarn.

Voila, the perfect decor for L's playroom entrance (and, magically coordinates with the paint!)

 Love is definitely in the air at our house :-)

Thursday, January 24, 2013

Zipper Pouches

As many of you know, I am an Independent Consultant for a company that sells bags, totes, accessories, and a bunch of other stylish and functional products to keep you and your home looking good.  But, one thing this company is lacking is cute things for little boys.  So, I decided to take matters into my own hands and make something for my little boy!  He got a Star Wars rolling suitcase for Christmas from Grammy and Grampa, and these are the perfect accessory to help him travel in style and keep his stuff organized.
I found a great tutorial on Pinterest that I thought I would be able to do.  With minimal tweaking, I figured out my dimensions for a large pouch and a smaller pouch.  So, off to purchase the supplies.  I was ecstatic when I discovered Joann's sold Star Wars fabric and knew this would be the perfect first project.  I am still trying to figure out what to make G out of this fabric since he is the Star Wars guru in this house!  Anyways....I bought two different prints (1/2 yard each), a yard of white sport nylon for the lining, and two zippers (9" and 14").  I had plenty of thread and pins at home, but, this project really required little supplies which was also great!
 
So my first attempt was an epic failure.  I was so out of my comfort zone.  While my quilting world to date revolved around 1/4" seam allowances and cotton fabric, I turned that world upside down with trying to sew on a zipper, work with slippery nylon, and using a 1/2" seam allowance.  I made it all the way to the end (eventually!) and then managed to cut off the little stopper at the end of the zipper, so, the part that you pull flew right off.  Ugh!
But, I learned my lessons and my second and third attempts were successes!  I made two darling pouches for L just in time for his weekend trip to Grammy and Grampa's.  G was equally impressed that I accomplished this and asked if I could make him footie pajamas (for him, mind you, not L)!
Hopefully this project has given me the confidence to make more useful things.  While I love quilts, you can only have so many.

Coming up....Valentine's Day.  I have a bunch of projects in the works that I will be sharing soon!

Friday, January 18, 2013

Coconut Banana Bread

This morning, Landon and I had some friends over to play.  I had a craving for some sort of a sweet bread, so, when I came across this recipe, I knew it was a no-brainer as it combined two of my favorite criteria....healthy and coconut.  I had most of the ingredients on hand already and it was super easy to whip together.

First, I rounded up all my ingredients.  I think the only ones I had to buy were skim milk and greek yogurt!!
 Then, mixed the dry ingredients together...
Then mashed up the bananas with a fork and mixed with the brown sugar and vanilla...
 Then, added the egg whites and mixed...
 Then, added the oil and mixed... (do you see a pattern forming?!?!)
 Then, added the flour mixture in three batches and mixed between additions...
 
 Then, added the greek yogurt, orange juice, and milk, and mixed.

 And finally, added some coconut, and mixed.
Once everything was combined, I poured it into an 8.5" loaf pan (recipe called for 9x5" but I just used what I had) and sprinkled the remaining coconut on top.
After an hour of baking and cooling, I sliced this baby up and volia....coconut banana bread.

With Spring just around the corner (hopefully...I know we still have a few months to go, but, a girl can hope, right?!?!) you will be seeing a lot of coconut recipes popping up since I have a slight obsession for the flaky sweet :-)

Coconut Banana Bread (from fitsugar.com)
Ingredients

1 ¾ cup all-purpose flour
1 teaspoon baking powder
1¼ teaspoon baking soda
3 Large ripe bananas, mashed
½ cup + 2 tablespoons sweetened flaked coconut
½ tablespoon olive oil
1 teaspoon vanilla
½ cup of brown sugar
3 egg whites
2 tablespoons skim milk
¼ cup fat free plain Greek yogurt
¼ cup orange juice

Directions
  1. Preheat oven to 350 degrees.
  2. Mix flour, baking powder, baking soda together in mixing bowl.
  3. In separate large mixing bowl combine mashed bananas, brown sugar, and vanilla. Add egg whites and mix together until smooth. Next add oil. Then, slowly add in flour and combine until moist. Next add Greek yogurt and orange juice. (Depending on the consistency you can add two tablespoons of skim milk. If you like your bread more dense —omit the milk — but if you like it more airy or lighter you can add it.) Lastly add ½ cup of coconut and mix together.
  4. Pour into greased 9×5 inch loaf pan. Sprinkle two tablespoons of coconut on top.
  5. Bake for 50-60 minutes or until toothpick comes out clean and the bread is golden brown.
Optional: throw in ½ cup of walnuts to batter to help keep you satisfied all morning. Another option: substitute ½ cup of regular flour with whole wheat flour

Thursday, January 17, 2013

Gettin' Figgy With It

I came across a recipe for Fig Foldovers in the February 2013 edition of Parents Magazine and knew these were a must make based on my family's love for this delectable soft cookie.  I'm not going to lie, they did take a bit longer to make than I thought they would, but, in the end it was so worth it.

First, I gathered all my ingredients for the bars (missing from photo is salt).

Then, I took my figs, cut off the stems, and placed them (a few at a time) into my mini food processor to chop them up.
 
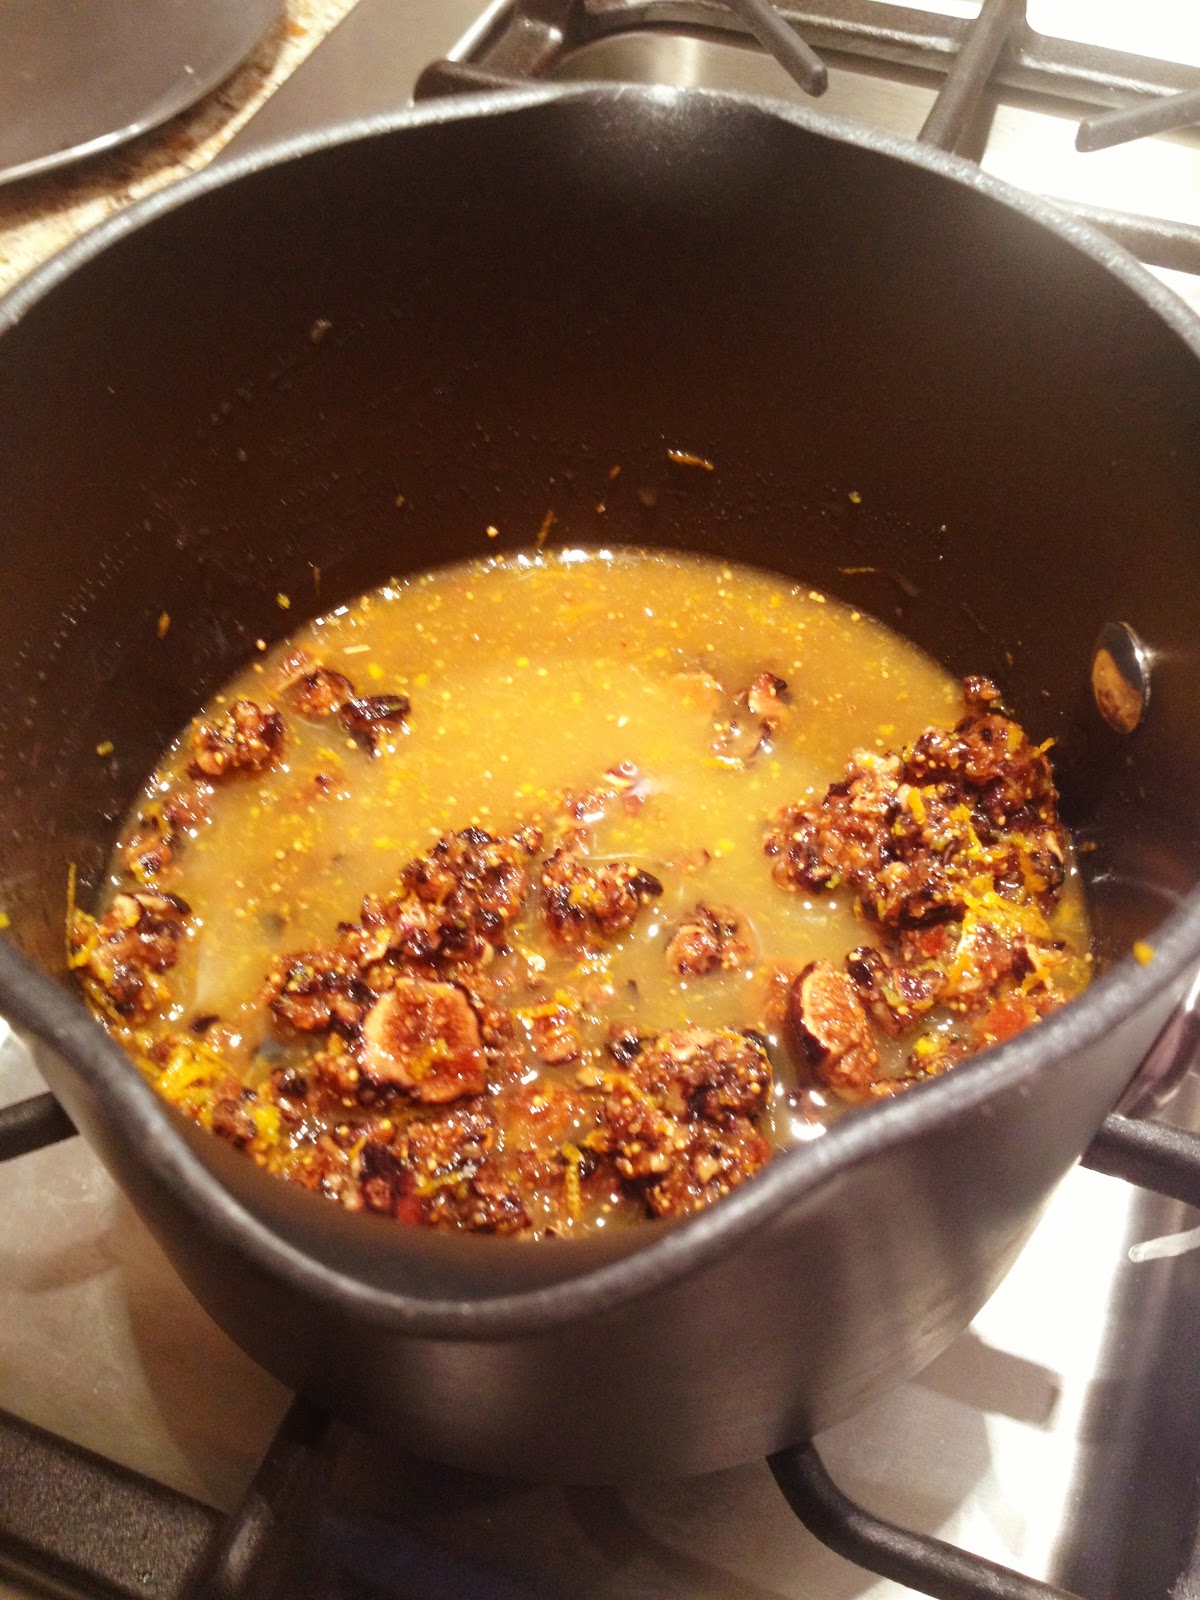
After that, I put the figs, brown sugar, zest, and OJ into a saucepan and brought it to a boil, then simmered until most of the liquid was evaporated.
 
Once that was done, I took it off the stove to cool a bit before putting it back in my mini food processor and making the mixture nice and smooth.
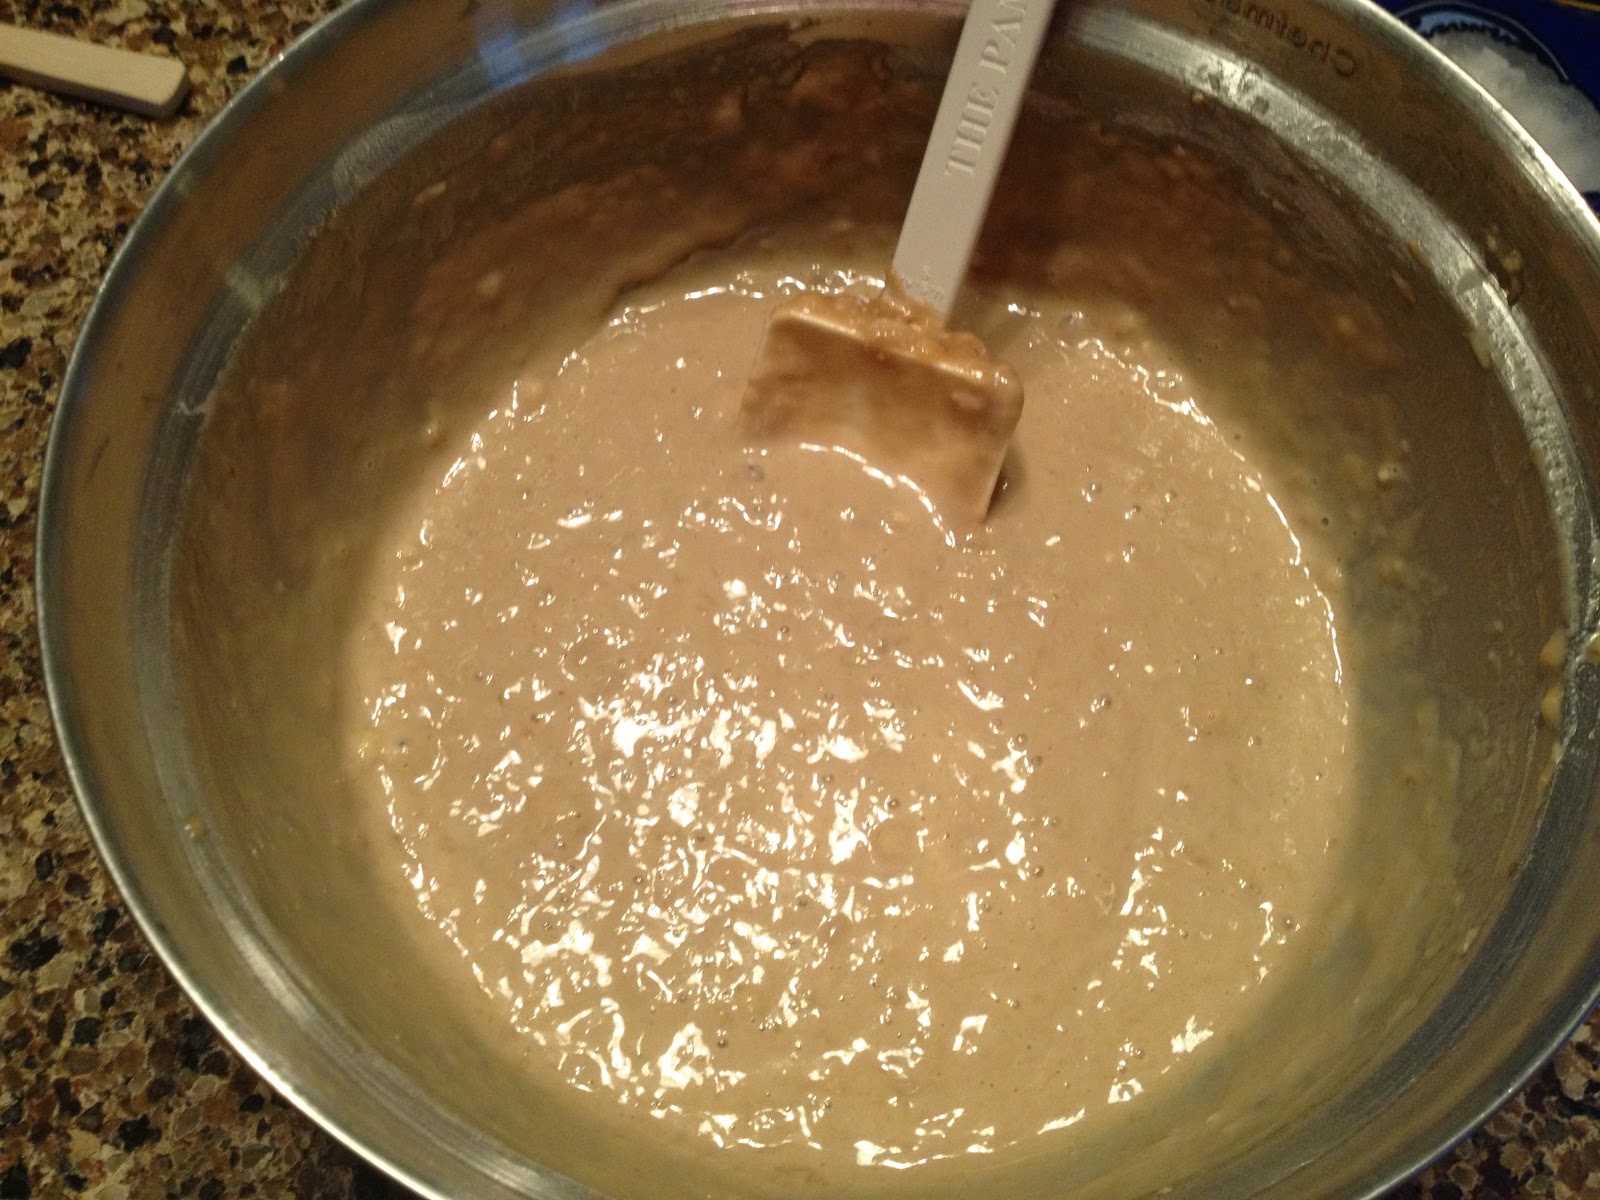
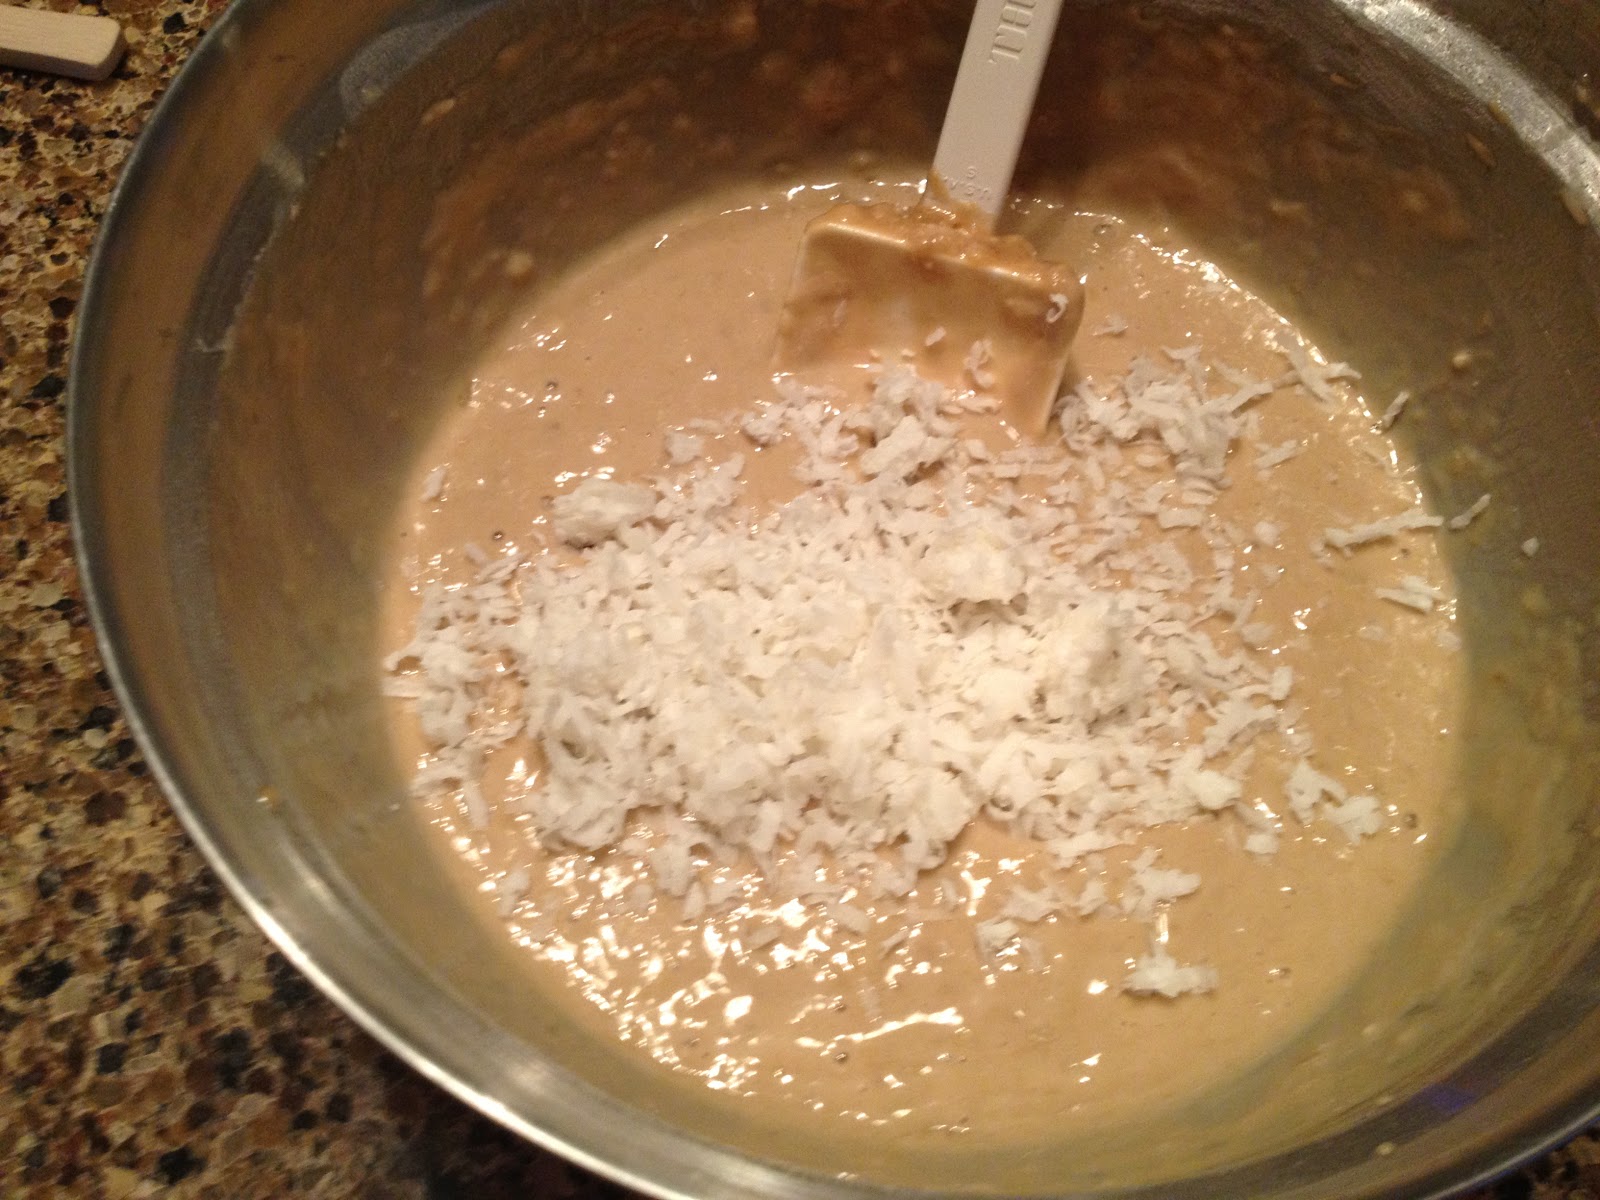
Then it was time to make the dough.  I creamed butter in my mixer and then added granulated sugar.
Next came the eggs and sugar.
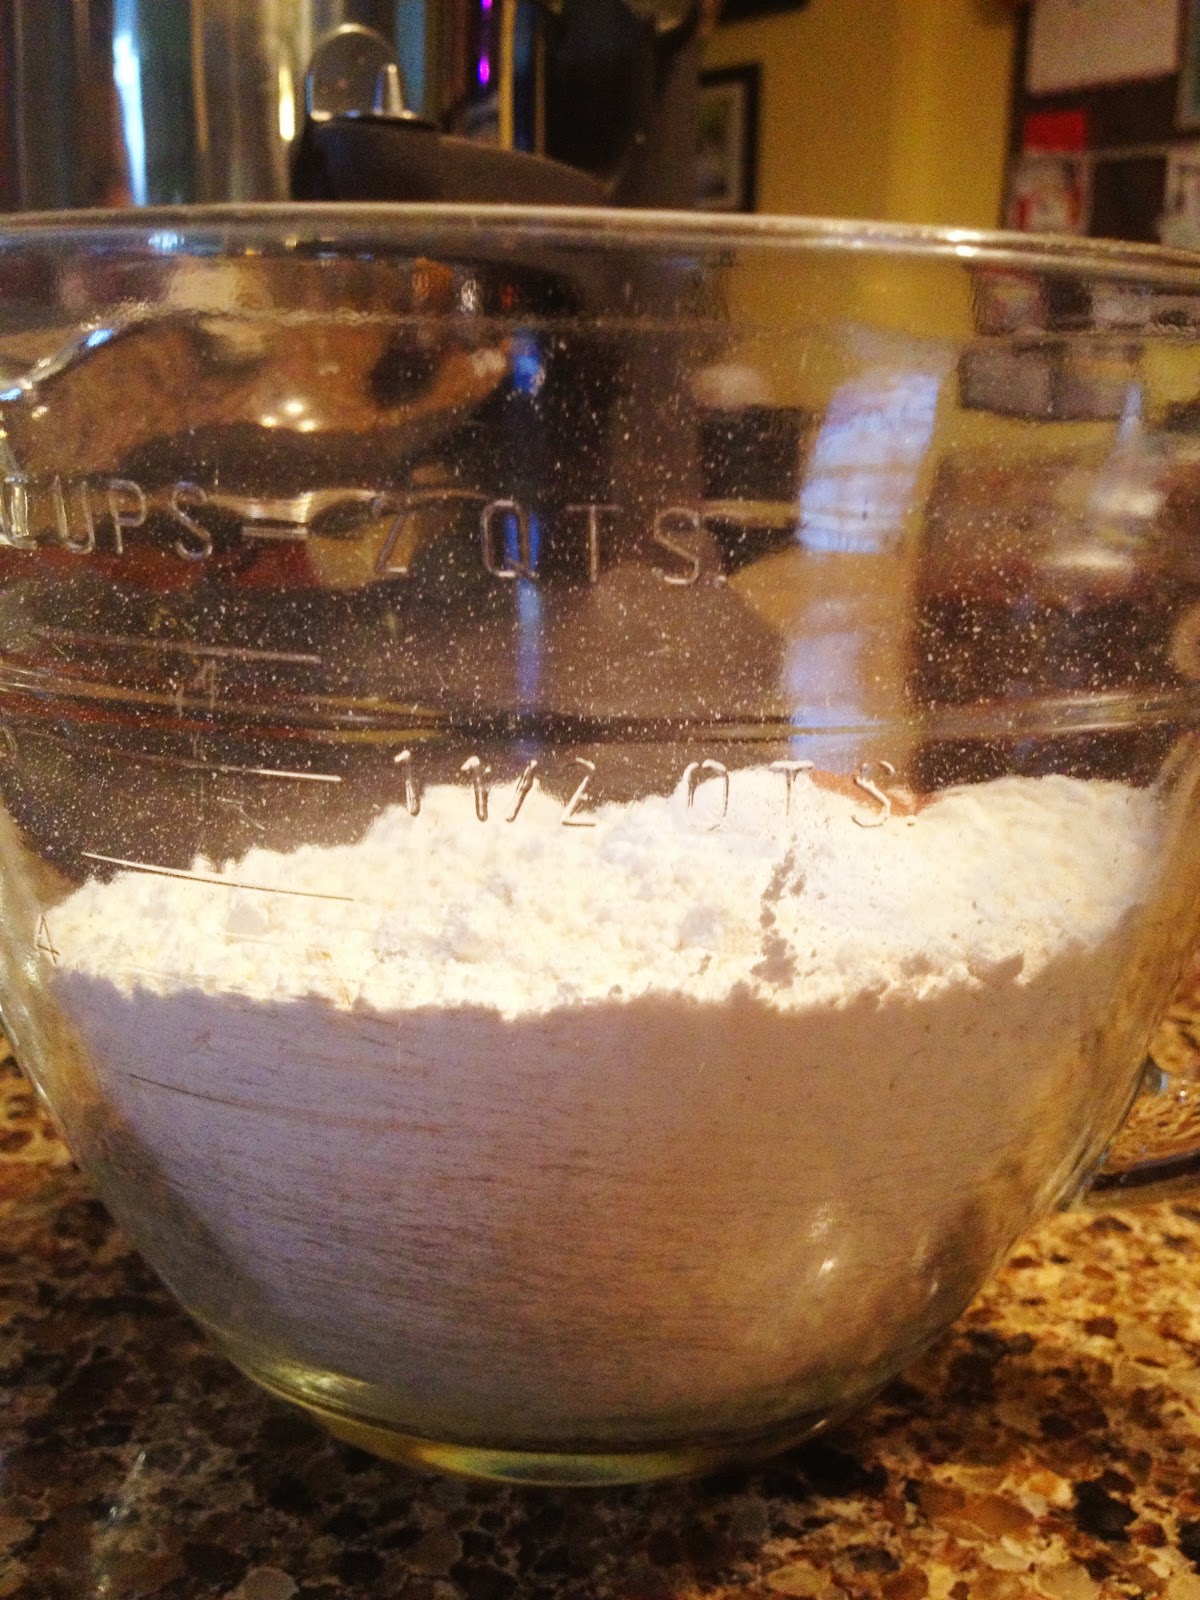
Then I combined flour, baking powder, cinnamon, and salt in a bowl, and beat it into the butter mixture on low.
Once my blob of dough formed, I divided it up into four smaller balls.
Then rolled it out between two pieces of parchment paper.
After that, I gently peeled off the top layer of parchment and spread 1/4 of the fig mixture down the middle of the dough.
I discovered that folding the dough over was much easier if you just folded the bottom parchment along with it and gently pressed it down then peeled it back.
 
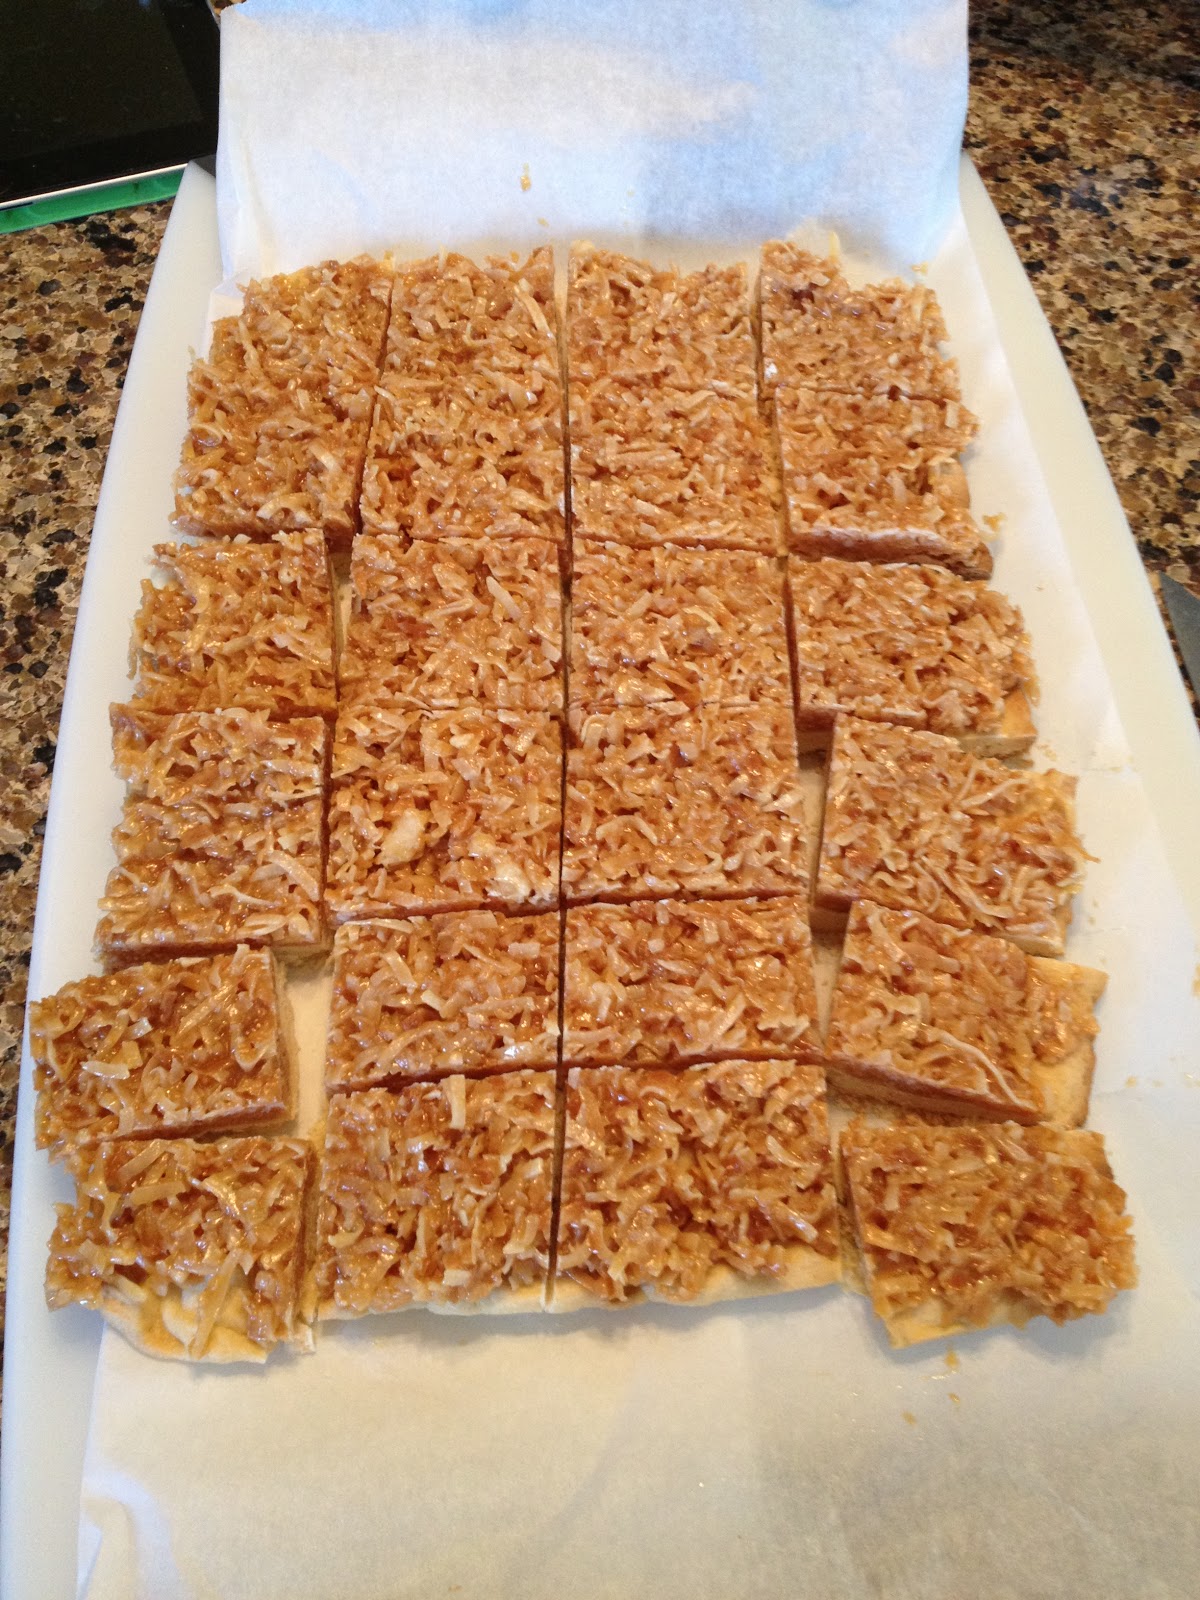
Then, I cut the dough into 10 pieces (the recipe said 12 but I wanted them to be more of a normal cookie size).  Since I can't roll out a perfect rectangle, some were bigger than others.
After cutting, I placed the bars onto a parchment lined cookie sheet and baked at 350 degrees for 15 minutes (adding a few minutes on the end for one tray to get a little more golden on the bottom).
While they were baking, I made the glaze, which consisted of powdered sugar, milk, and vanilla.
 
It was a little stiff for my liking, so I added a smidge more milk.
Voila, runny, drizzleable (is that a word??)  icing.
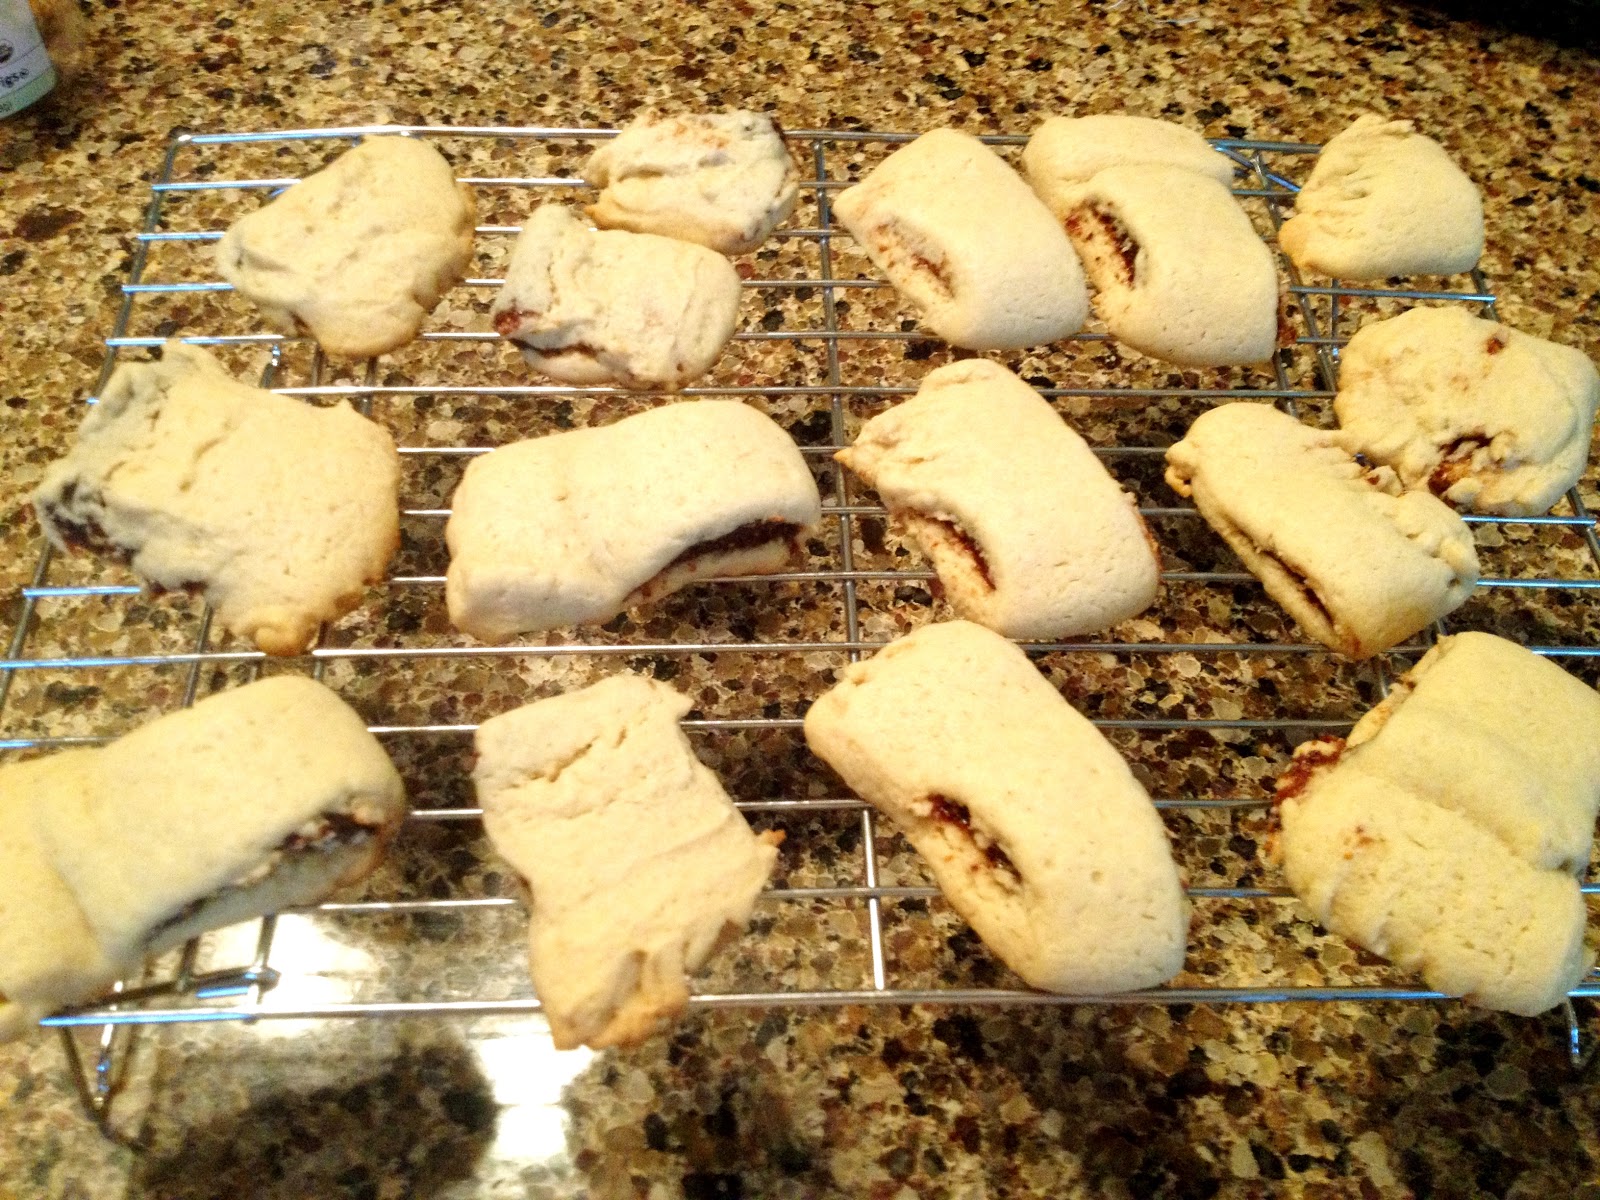
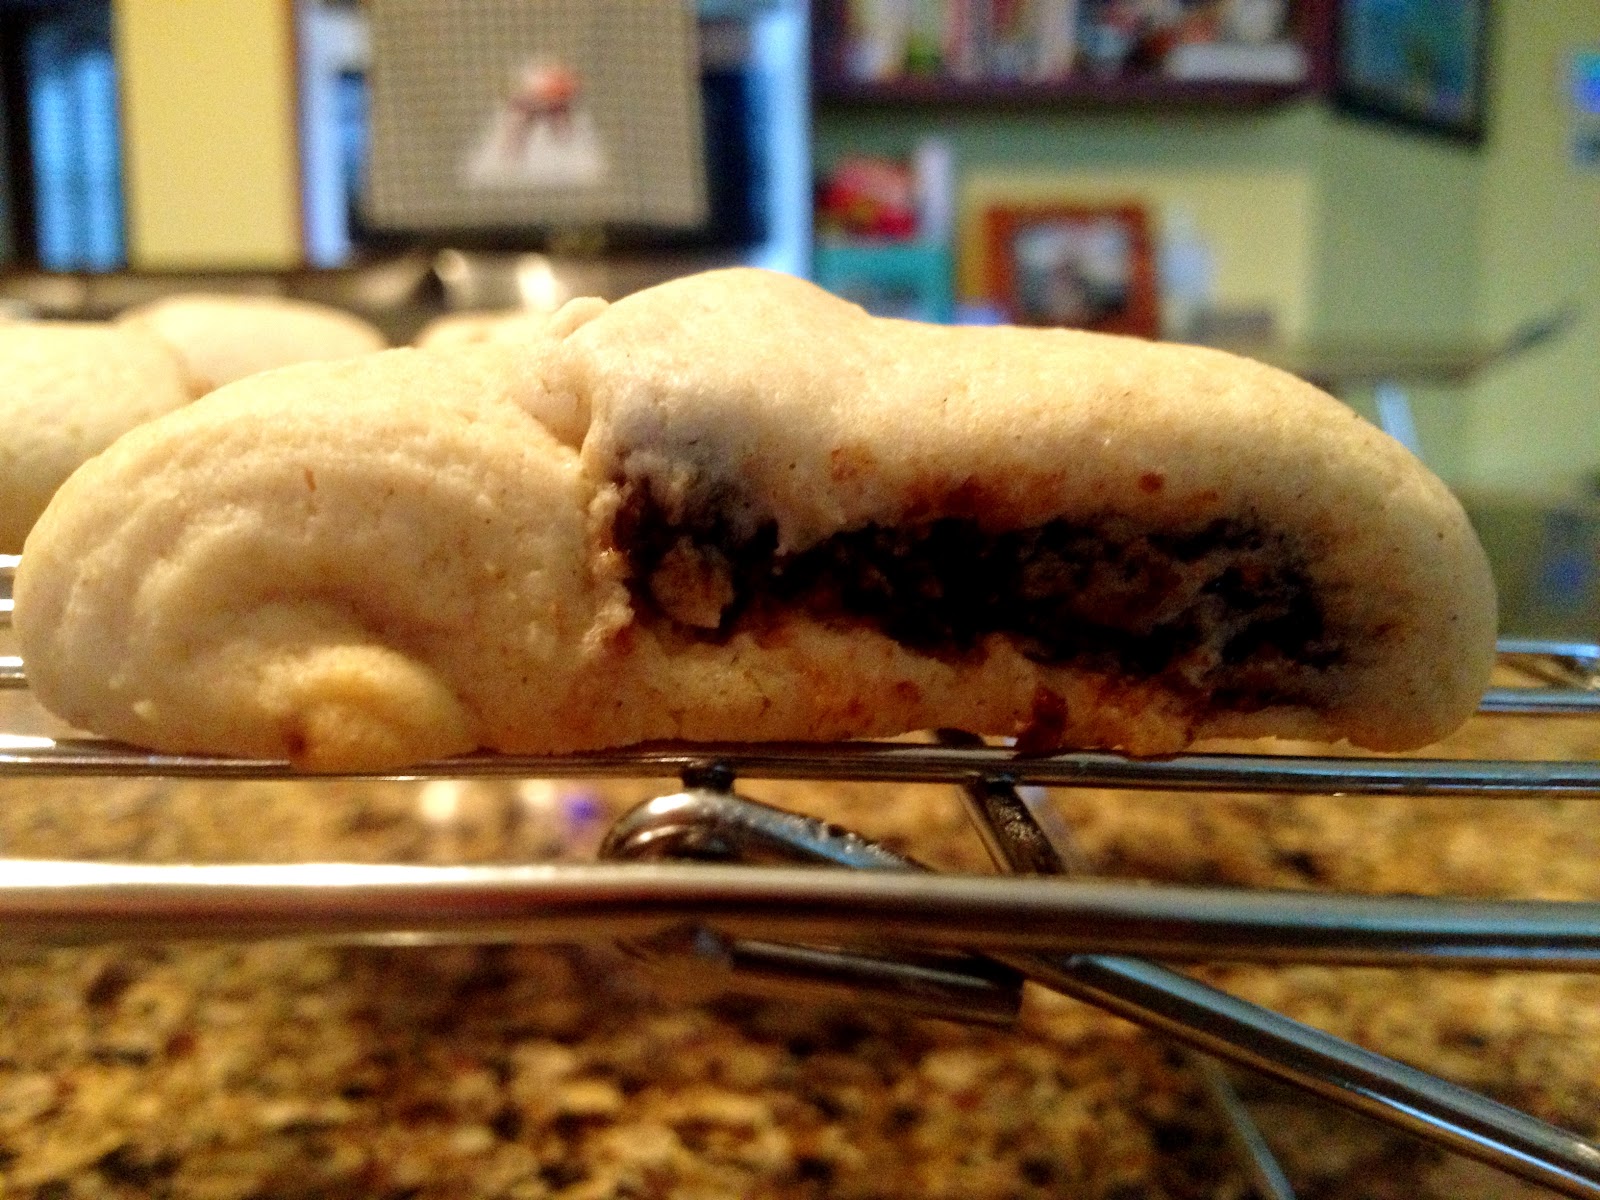
When the bars were done, I transferred them to a wire rack to cool off a bit.
MMMM....looks so yummy!
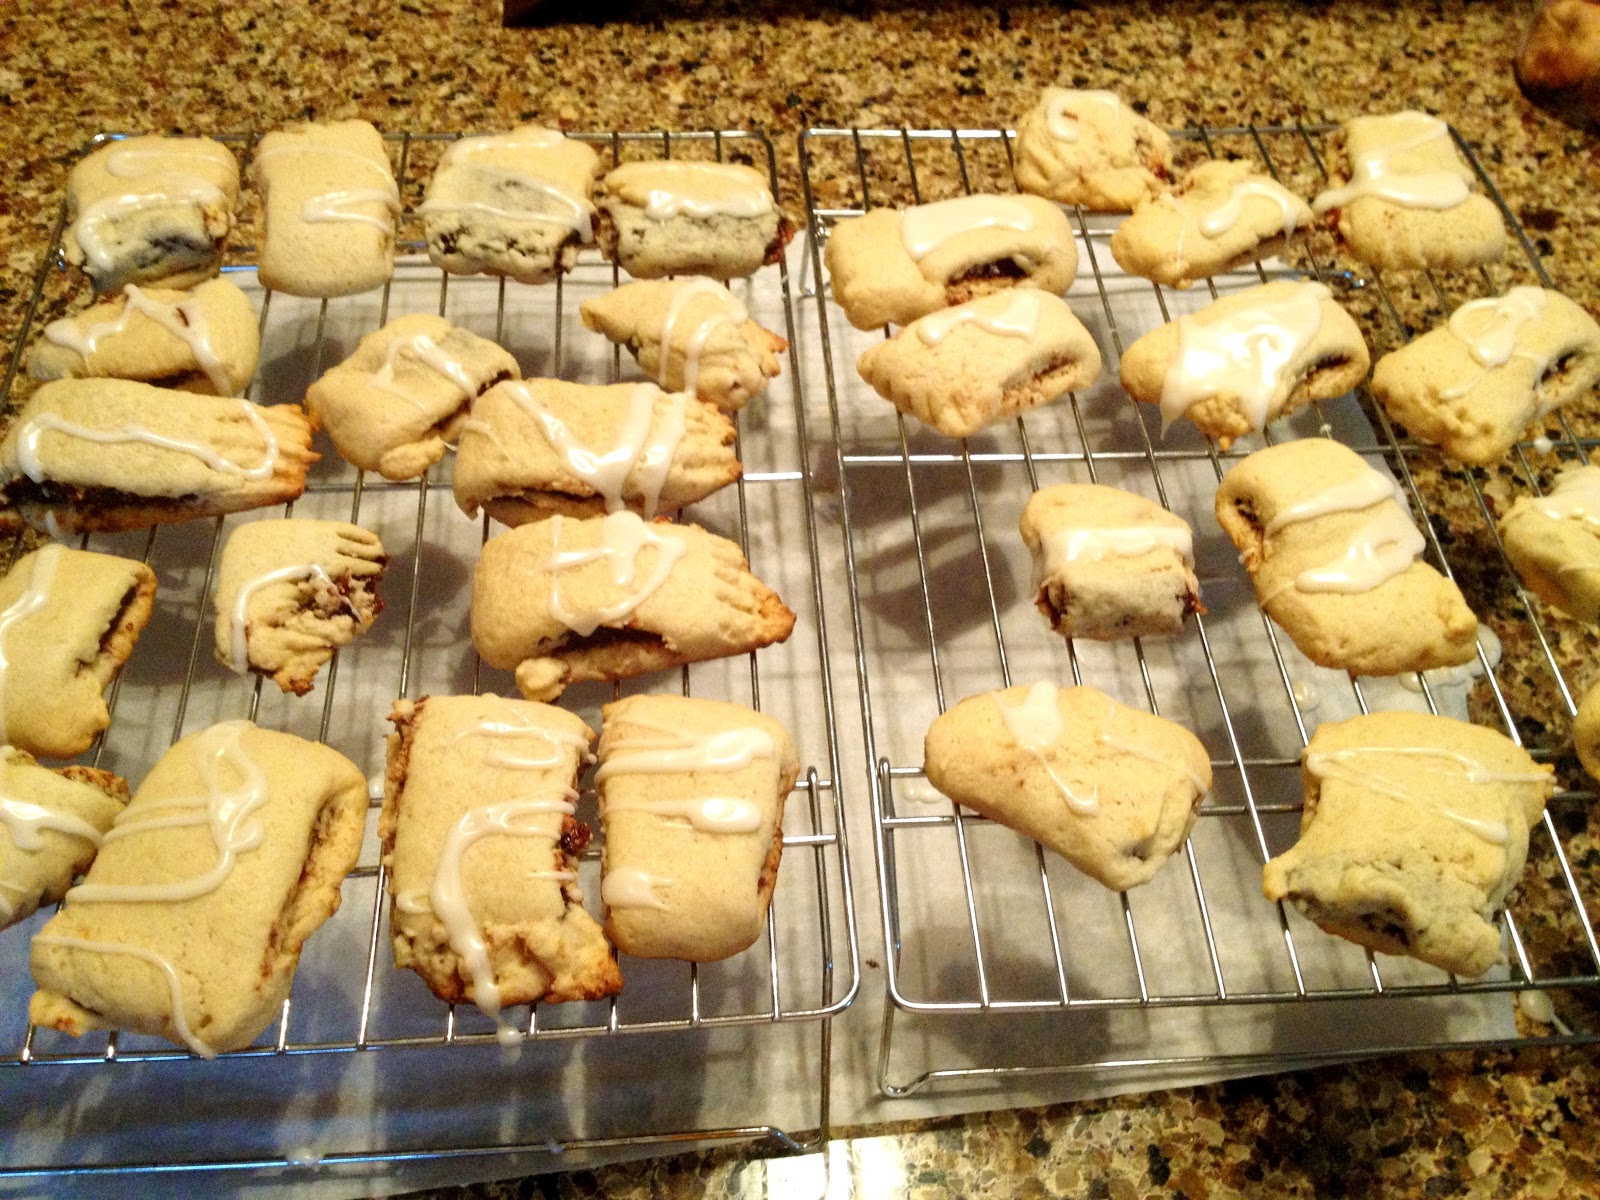
Then drizzled them with the glaze.
 
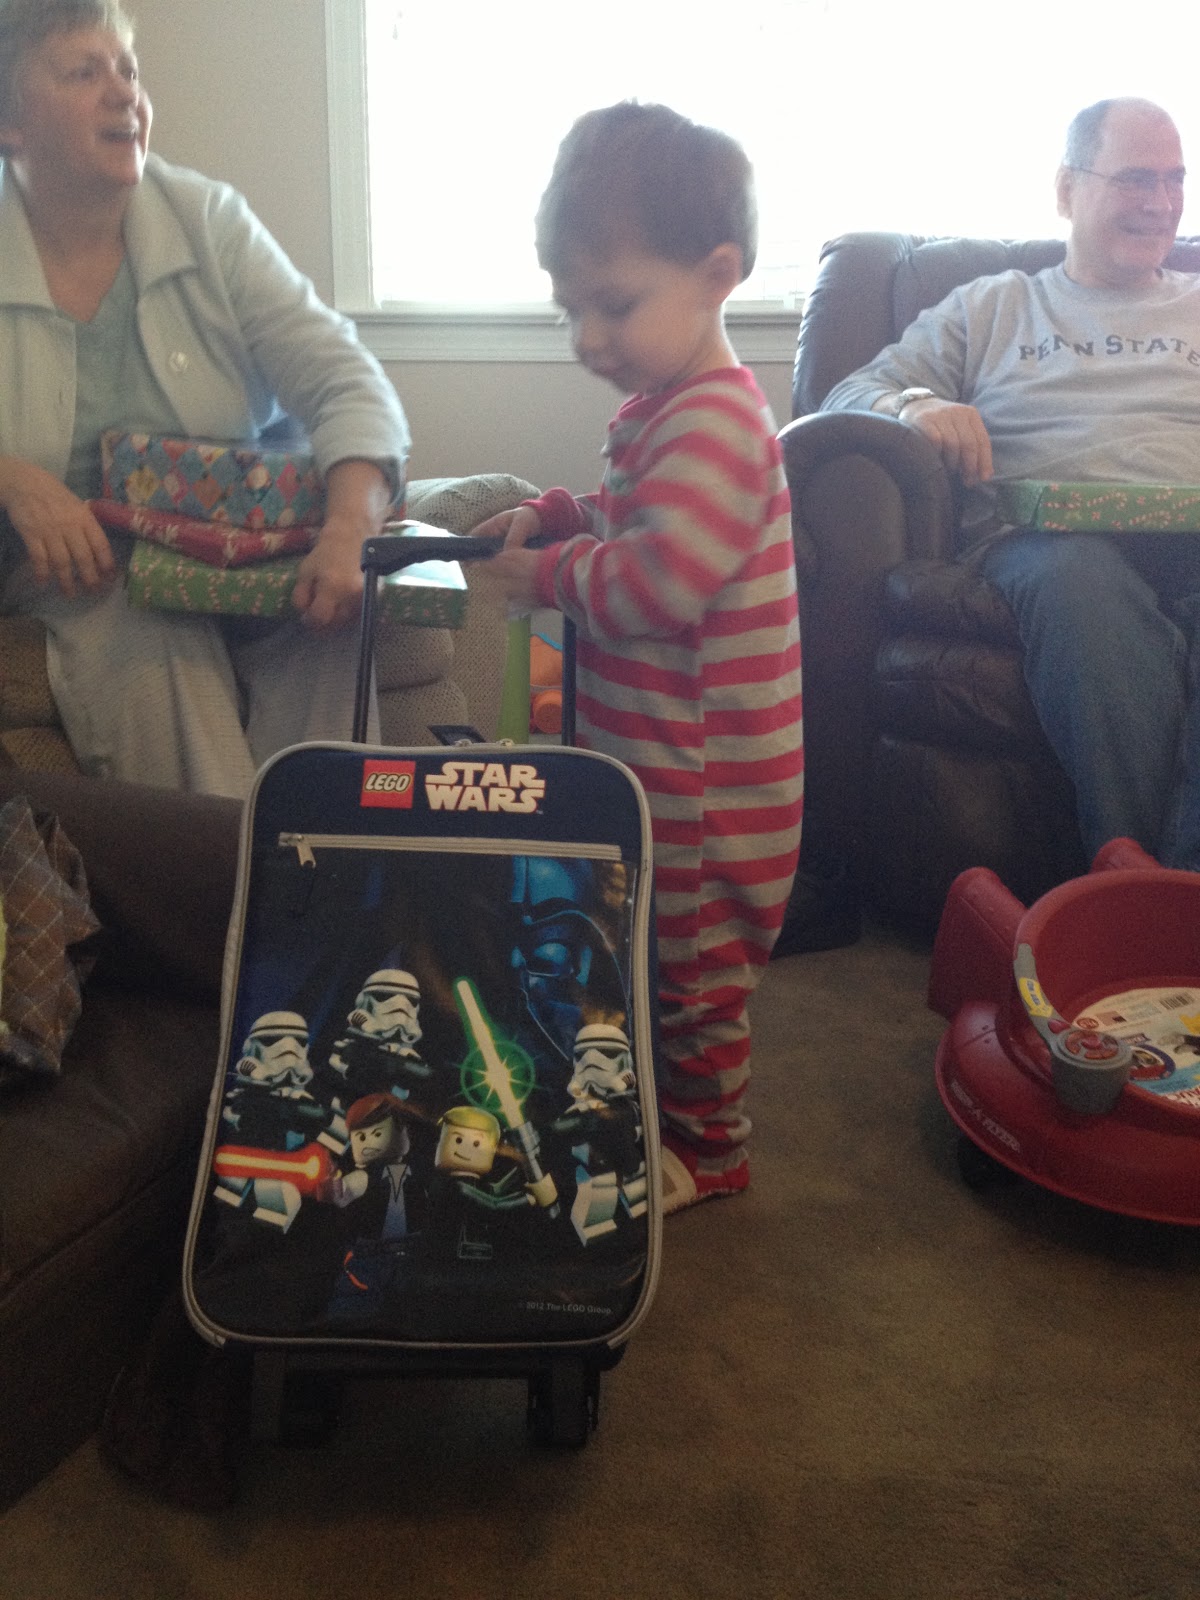
My #1 critic thoroughly enjoyed them!!!!
Although, since I was distracted in the kitchen, this is what happened to my living room.  Ah, boys!
And FYI- these are not the figs you want to use for this recipe.  Be sure to get the Mission Figs (I found them at Wegman's).  G has been enjoying snacking on these though, so they weren't a waste.
Hope you enjoy making these.  Although a bit laborious, they are SOOO worth it!

Fig Foldovers (from Parents Magazine, February 2013)
Active Time- 25 mins
Total Time- 1 hour
Makes- 48 bars

8oz dried Mission figs, stems removed, chopped (1.5 cups)
1/4 cup packed brown sugar
1 1/2 tsp finely shredded orange zest
1 cup orange juice
1 cup salted butter, softened
1 cup granulated sugar
2 eggs
1 1/4 tsp vanilla extract, divided
3 cups all purpose flour
2 tsp baking powder
1/2 tsp ground cinnamon
A dash of salt
1/2 cup powdered sugar
2-3 tsp of milk

In a saucepan, bring figs, brown sugar, zest, and juice to a boil, lower heat.  Simmer, uncovered, for 15 minutes or until nearly all of the liquid has evaporated, stirring occasionally.  Remove from heat and let cool.  Mix in a food processor or a blender until smooth.

Preheat oven to 350 degrees.  In a bowl, beat butter on medium to high speed for 30 seconds.  Add granulated sugar, beat until combined.  Beat in eggs and 1 tsp of the vanilla.  In a bowl, stir together flour, baking powder, cinnamon, and salt.  Beat into butter mixture on low speed.

Divide dough into 4 pieces.  Roll each between parchment paper into a 12x5" rectangle.  Spread 1/4 cup fig mixture down the middle of each rectangle.  Fold rectangles in half lengthwise over filling; seal edges with the tines of a fork.  Cut crosswise into 12 slices.  Place 2 inches apart on parchment on a cookie sheet.  Bake 15 minutes, or until lightly browned.  Remove; cool on rack. 

Stir together powdered sugar, remaining vanilla, and milk; drizzle over bars.  Allow to set.