Monday, February 11, 2013

Valentine's Day Mantel Banner

This mantel was my inspiration for Valentine's Day. Honestly, I wish I could just somehow magically get all those things to appear on mine.  But, I know that's not possible so I am trying my darndest to recreate them.  My next attempt was the cute banner across the front of the mantel.  I love the chevron and lace.  So...I headed out shopping and didn't think to reference the photo before picking up supplies.  I mean, I have to make this project my own, right?!?!
Basic supplies included fabric (found on etsy), scrapbook paper, cardstock, yarn, glue dots, and dollar store doilies.
Using my Cricut, I found this fun font that had dots all through it.  So, I cut out my letters and stitched white yarn through the holes.
And then took a second pass through the holes because I didn't like the gaps.  I also took grey yarn and stitched it though the pink cardstock to create a framed border.
Then, I glue dotted a doilie to the fabric to serve as a background...
...and layered my cardstock and letter on top.
To make sure everything lined up, I placed the next piece of fabric on top and lined up the edges.
I hole punched holes in each end of the fabric at the top and ran twine through the holes to make the banner.  In the end, I decided I didn't like the doilies, so I took them off.  I also wish I would have done more of a contrast, so the BE MINE popped out.  But, it's done and it looks good (in my opinion).  Ah, another project down.  I still have to start that second topiary.  That might be done in time for Valentine's Day 2014 :-)

Sunday, February 3, 2013

Valentine's Day Wreath

I tried to make this wreath.  And while it was not a complete failure, it only looks somewhat like the picture. 

I started out with a heart shaped foam wreath form and wrapped it with some grey yarn.  To get around some of the trickier curves, I just used some sewing pins to keep the yarn in place.  So far, super easy.
Then, I took some sheets of felt and heart shaped cookie cutters, traced the shapes onto the felt, and cut them out.  So far, so good.
Then, I did the same thing with some poly-fill batting to make the hearts poofy.  Still good.
I quickly realized the hearts weren't going to be as poofy as I liked, so I trimmed a little bit off the edges so the batting fit inside the felt and then just curled up the excess to make a little poof.  And this is where I start to improvise!
Things start to take a turn for the worse here.  First, sewing yard through felt is a challenge in and of itself because of the thickness of the yarn.  But I got it through somehow and felt like it needed something at the end.  So I started to tint the white yarn pink with a marker.  Big mistake.  This just made the hearts look awful.  I only did this because I used that same pink marker to trace the heart shapes on the felt and I think the sweat from my hands trying to get the white yarn through the felt caused the pink to bleed onto the yarn a bit.
I then pinned some pink ribbon to the back of the wreath form to act as a hanger.
And here's the finished version.  G was not a fan of the dangly hearts (which are suspended from the wreath form by a piece of yarn and a sewing pin.
So, I just took off the dangly hearts and now this wreath lives on my laundry room door :-)

Where have you been all my life?

So I am just going to come right out and say that it's going to be extremely rare that I ever write about cleaning.  In fact, I'm kind of shocked I'm even going there.  But, I recently discovered two products that have turned my world upside down and I no longer dread cleaning my kitchen.  Before, I had like 6 different products that I used on my quartz counters, stainless, glass, sink, whatever material microwave and oven doors are made of, and cabinets.  Well, aside from my dusting spray, I am pleased to say I am down to two products!!

The first is this little guy (and I have to admit, he's my favorite)
This stuff works WONDERS on my stainless cooktop, because, let's face it, I love to cook and neatness does not count in the kitchen.  It also leaves my quartz and sink sparkling, and my appliances smudgeless (until L wakes up or comes home from school).  I just use a soft cloth and a little water.  It truly lives up to its name....Fantastik :-)
And, whoever decided to combine the Magic Eraser with a Swiffer Wet Jet should win an award.  Seriously.  Spaghetti sauce stains on my tile be gone.  Muddy puppy paw prints- bye bye.  I still hate cleaning my tile, but, at least my exertion level is minimized a little bit.
 
So, if you hate cleaning as much as I do, you should give these two products a whirl.  Hopefully you won't dread surface cleaning days as much anymore!
 
*Disclaimer:  Neither manufacturer of these products asked me to write about them.  These reviews are truly my own opinion.


Wednesday, January 30, 2013

Topiary Trees

I saw this tutorial on Pinterest and immediately fell in love (as usual).  And (as usual) it was a project that took waaaaayyyyy longer than I ever expected.  Who knew that I'd be rolling up streamers for a good eight hours?!?!  Thank goodness I have the awesomest kiddo in the world who did not require a whole lot of attention (I can roll and play choo-choos like the best of them!) and took an awesome nap.

So first I took my terra cotta flower pots and painted them white.
This was after coat #2....another coat was required.  Depending on the paint you get, you may be able to get away with two coats.  And don't you just love the pinkness in the background?  That's going to be the center of my Valentine's Day mantle.  I took a foam board, cut it down into a 17" square, took a half yard of pink chevron fabric and thumb tacked it to the board on the backside.  Then I took the cute, heart, hangy thing (I want to call it a wreath but that is clearly not correct) and thumb tacked it too.  So stinkin easy and adorably cute.  Ok back to the trees...
Then I started constructing the topiaries.  I took 6" styrofoam balls and inserted a wooden dowel into them.  I painted the dowel a brownish color so it sort of resembled a tree trunk.  I stuffed floral foam in the bottom of the pots to hold the dowels in place.
Then it was time to start cutting the streamers.  I went through about 200 yards of streamers for just one topiary.  Ugh.  I still have to make the second topiary because I ran out of streamers and glue gun sticks.  Hopefully I get it done by Valentine's Day!  I cut each streamer to one yard in length.
Then, you fold the streamer in half longways and start rolling, glue the end, then glue it to the styrofoam ball...and repeat like a bagillion times. 
It looks really cute when it's full!
Adding some pearls just screams Valentine's Day and the Spanish Moss works so well in the bottom.  Had I had a little more patience, I would have put a pearl on each bud because the sporadicness is driving me nuts since they are not perfectly spaced!!
But, I'm glad I got one down and now it's on to the second one.  I'm on a mission to have it done in the next 15 days :-)

Monday, January 28, 2013

Darn you, Girl Scouts

Just when you thought the holiday binge eating was over, and you could get back to a healthy diet, bam....the Girl Scouts strike.  Being a sweets lover (and that is definitely an understatement) I just can not resist those Samoas (aka- Caramel Delights). 

I stumbled upon this recipe, immediately added the ingredients I didn't have to my shopping list, and made these Thursday.  Amaze-balls.  I haven't had time to blog about them because I've been too busy stuffing my face with them.  They were a little time consuming but SOOO worth it.
Cream together the sugar and butter.  I am convinced all great recipes start with this step!!
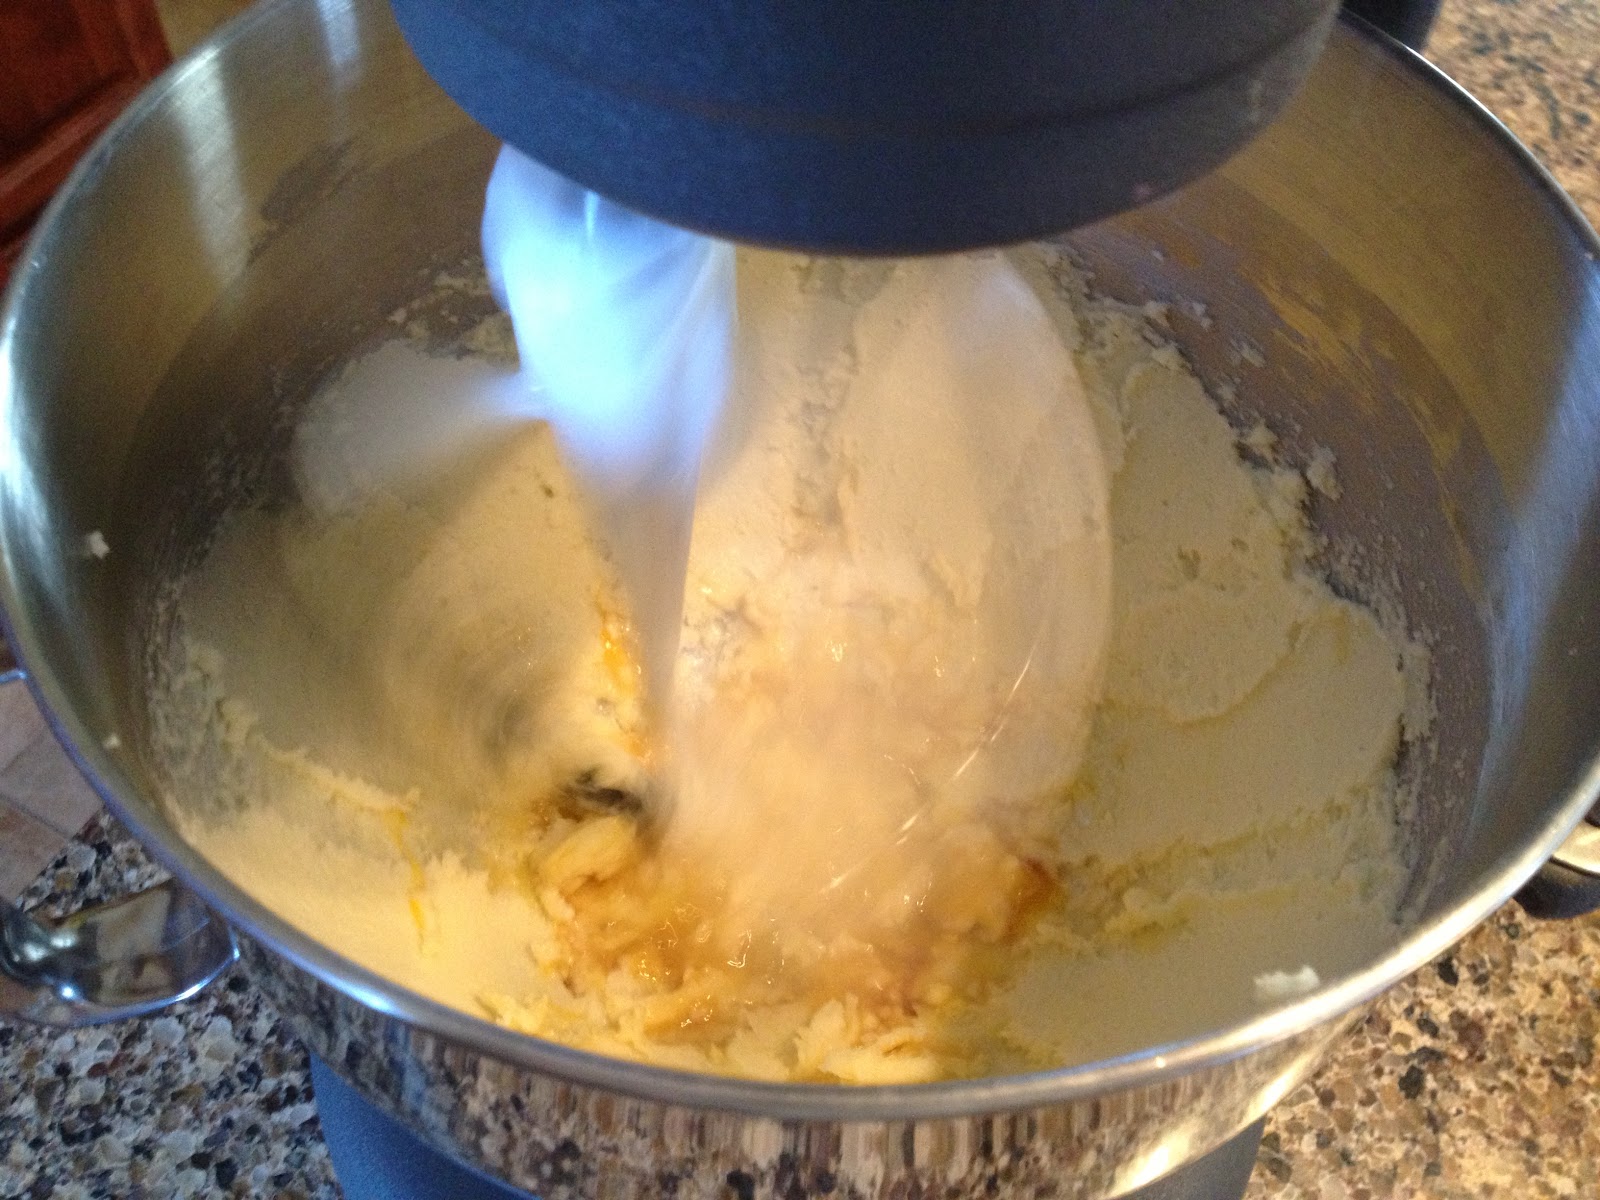
 Then add the egg and vanilla.
After you mix the flour and salt, you will get a doughy substance like this.  Put it on a parchment lined 9x13 baking pan...
...and squash it down with your fingers until it spreads out evenly over the pan.  Bake for 25 mins.
 While the cookie base is baking, take the coconut...
 ...and toast it.  I'm drooling :-)
 When the cookie base is done, let it cool.
Then, melt the caramel and milk in the microwave.  Make sure not to over cook and only zap it for 30 seconds at a time then stir.  Otherwise, you'll have a disaster.
Mix the caramel with the coconut
Then spread the mixture on top of the cookie base.  I put mine in the fridge at this point to harden.
Once firm, cut up into bars.  The parchment paper make it so much easier to get the bars out.
Next you melt the chocolate.  Again, zap for 30 seconds then stir.  Repeat.  You don't want burnt chocolate...trust me!
Take your bars and dip the bottom into the chocolate so the bottom is covered.  Put on a baking sheet lined with wax or parchment.
Once all the bases are done, put the remaining chocolate in a plastic bag.  I find if you put the bag in a glass and then pull the top of the bag down the edges, it makes it much easier to fill the bag.
Then snip off a corner (not too much or you will have thick, globby, albeit delicious chocolate like below).  If you want pretty piped chocolate, just snip a tiny bit off.  Then pipe away.  Put back in the fridge to harden.  Then eat your masterpiece!!!
I love you Girl Scouts!!!

Samoas Bars

from Crepes of Wrath

1/2 cup sugar
3/4 cup butter, softened
1 large egg
1/2 tsp vanilla extract
2 cups all purpose flour
1/4 tsp salt
3 cups shredded coconut
12-oz chewy caramels
1/4 teaspoon salt
3 tablespoons milk
20 oz. chocolate chips

Make cookie base. Preheat oven to 350F. Cream together butter and sugar. Next beat in eggs and vanilla. Mix in flour and salt until just combined. The mixture will be pretty crumble. That’s okay! Press it into a baking dish (I used a jelly roll pan lined with parchment paper and pressed it into about half the pan, but you can probably just use a 9×13). Bake about 20-25 minutes or until the edges are golden brown. Allow to cool.

Next make the topping. Start by toasting your coconut. Turn the oven on to 300F and lay coconut on a baking sheet. Turning occasionally toast about 10 minutes, once golden, remove from oven and set aside to cool.

Next melt the caramels in the microwave. First unwrap the caramels and put them in a large bowl with the milk and 1/4 tsp salt, microwave about 3-4 minutes, stirring every 30 seconds until evenly melted. Add the coconut to the melted caramel and stir to combine. Once combined, spread coconut/caramel topping onto shortbread base. This is easier if you spray your spatula with pam or grease it. Allow to cool completely (I refrigerated it a bit).

Remove bars from pan (this is easy to do if you used parchment paper). On a cutting board, using a large chef knife, carefully cut the bars into the desired shape. Melt chocolate in the microwave (remember to stir every 30 seconds). Dip cookie base into chocolate (or spread on with a spoon if your bottom is too crumbly), place on fresh wax/parchment paper. Put the remaining melted chocolate in a ziploc bag and cut off a tip so you get a tiny piping bag. Pipe lines of chocolate on each one. Refrigerate a little bit so chocolate hardens then serve!

Love is in the air...

I can hardly believe Valentine's Day is just a few weeks away. Thanks to good 'ole Pinterest, I have so many projects in the works, I feel like I'm going to be working around the clock to get them done (since my OCD requires me to have them done by the first of the month the holiday falls).

I actually didn't find this project on Pinterest, but, the idea was from a project I did last Easter involving paint swatches and cookie cutters.  G and I took a trip to Lowe's one morning and I found myself wandering around (as usual) and ended up in the paint department.  Knowing V-Day was just around the corner, I stocked up on pink paint swatches.  If anyone was watching they probably thought I was nuts.
I took my heart shaped cookie cutter and started tracing heart shapes on the back of all the swatches.
Then, I cut out the hearts and glued two hearts together (back to back) so the colors showed on both sides.  After that, I punched a small hole, took grey and white yarn in different lengths, and knotted one end so the heart would hang on the yarn.

Voila, the perfect decor for L's playroom entrance (and, magically coordinates with the paint!)

 Love is definitely in the air at our house :-)

Thursday, January 24, 2013

Zipper Pouches

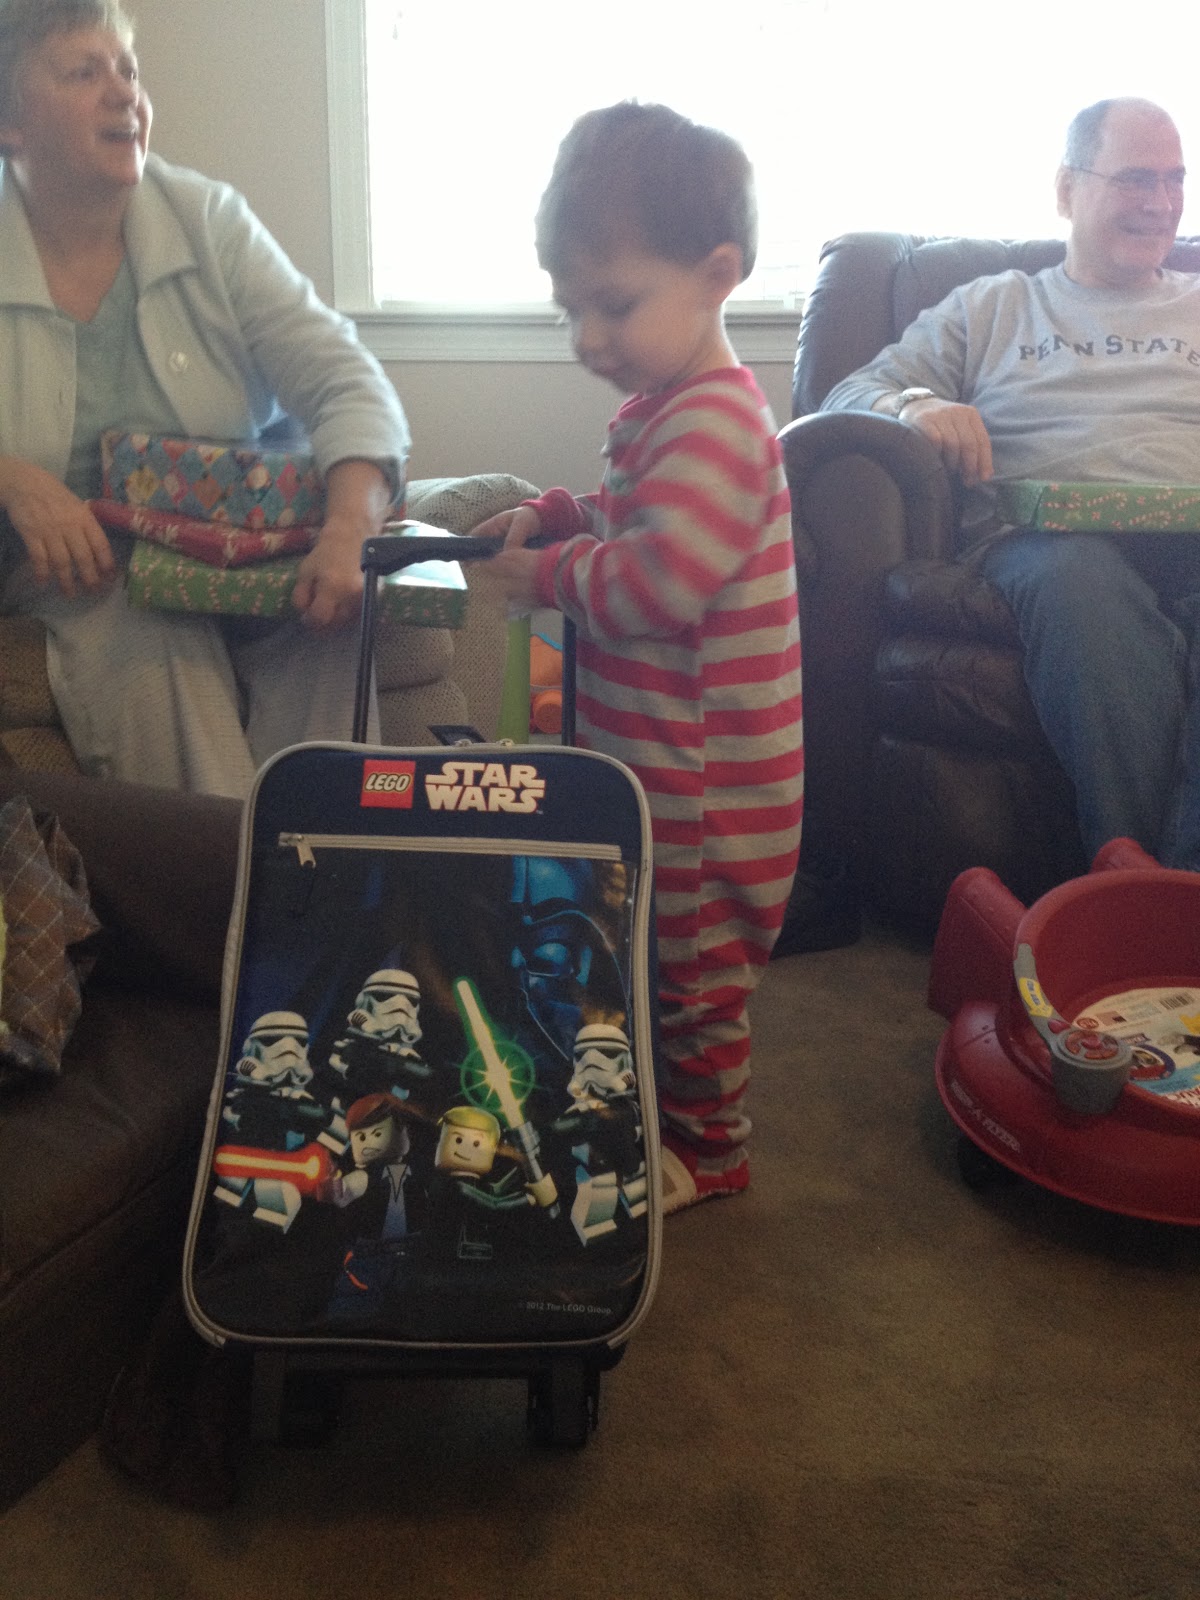
As many of you know, I am an Independent Consultant for a company that sells bags, totes, accessories, and a bunch of other stylish and functional products to keep you and your home looking good.  But, one thing this company is lacking is cute things for little boys.  So, I decided to take matters into my own hands and make something for my little boy!  He got a Star Wars rolling suitcase for Christmas from Grammy and Grampa, and these are the perfect accessory to help him travel in style and keep his stuff organized.
I found a great tutorial on Pinterest that I thought I would be able to do.  With minimal tweaking, I figured out my dimensions for a large pouch and a smaller pouch.  So, off to purchase the supplies.  I was ecstatic when I discovered Joann's sold Star Wars fabric and knew this would be the perfect first project.  I am still trying to figure out what to make G out of this fabric since he is the Star Wars guru in this house!  Anyways....I bought two different prints (1/2 yard each), a yard of white sport nylon for the lining, and two zippers (9" and 14").  I had plenty of thread and pins at home, but, this project really required little supplies which was also great!
 
So my first attempt was an epic failure.  I was so out of my comfort zone.  While my quilting world to date revolved around 1/4" seam allowances and cotton fabric, I turned that world upside down with trying to sew on a zipper, work with slippery nylon, and using a 1/2" seam allowance.  I made it all the way to the end (eventually!) and then managed to cut off the little stopper at the end of the zipper, so, the part that you pull flew right off.  Ugh!
But, I learned my lessons and my second and third attempts were successes!  I made two darling pouches for L just in time for his weekend trip to Grammy and Grampa's.  G was equally impressed that I accomplished this and asked if I could make him footie pajamas (for him, mind you, not L)!
Hopefully this project has given me the confidence to make more useful things.  While I love quilts, you can only have so many.

Coming up....Valentine's Day.  I have a bunch of projects in the works that I will be sharing soon!